With the newest RF antenna from Cooltrax, it is no longer required to drill through the trailer wall.
Mounting the antenna in the reefer cabinet, near the trailer wall is sufficient to receive signal from all sensors within the trailer.
Instructions
1. Unscrew and remove RF nut from the bottom of the antenna.
2. Run RF cable through mounting plate hole.
3. Run RF cable through RF nut that was previously removed.
4. Screw nut back on to hold mounting plate in place. Use wrench to tighten if needed.
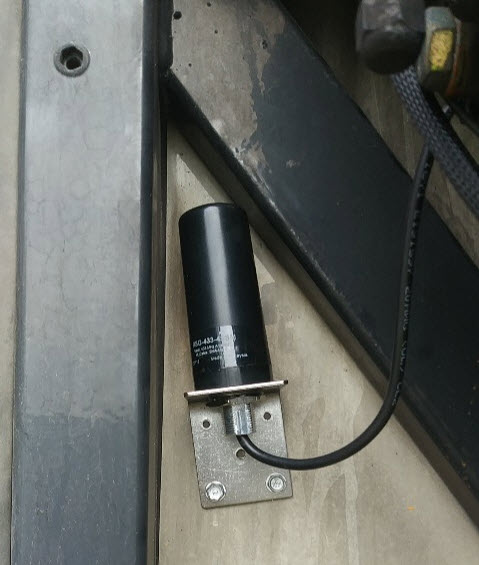
5. Align the RF antenna parallel to trailer wall within reefer cabinet. Making sure to have the least amount of metal and framing between antenna and trailer wall.
6. Screw in provided screws into mounting plate holes. Two screws are often sufficient to hold RF in place.
7. Run RF connector to the UMD. Then connect it to the RF connector on the UMD. Hand tighten.
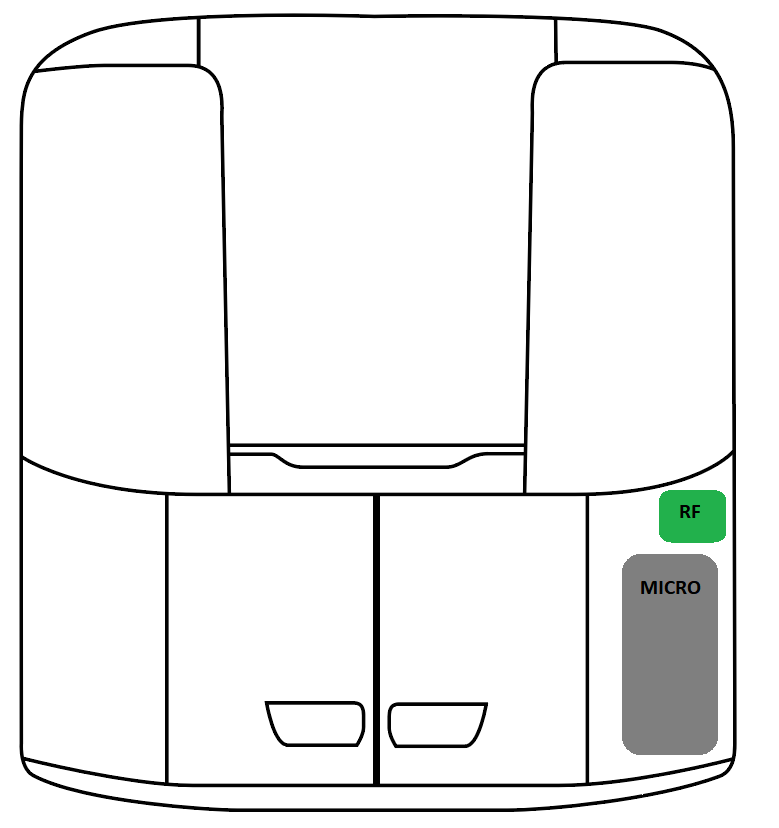
For installation within a ThermoKing unit the open area above the Micro is an excellent location to install the RF antenna.

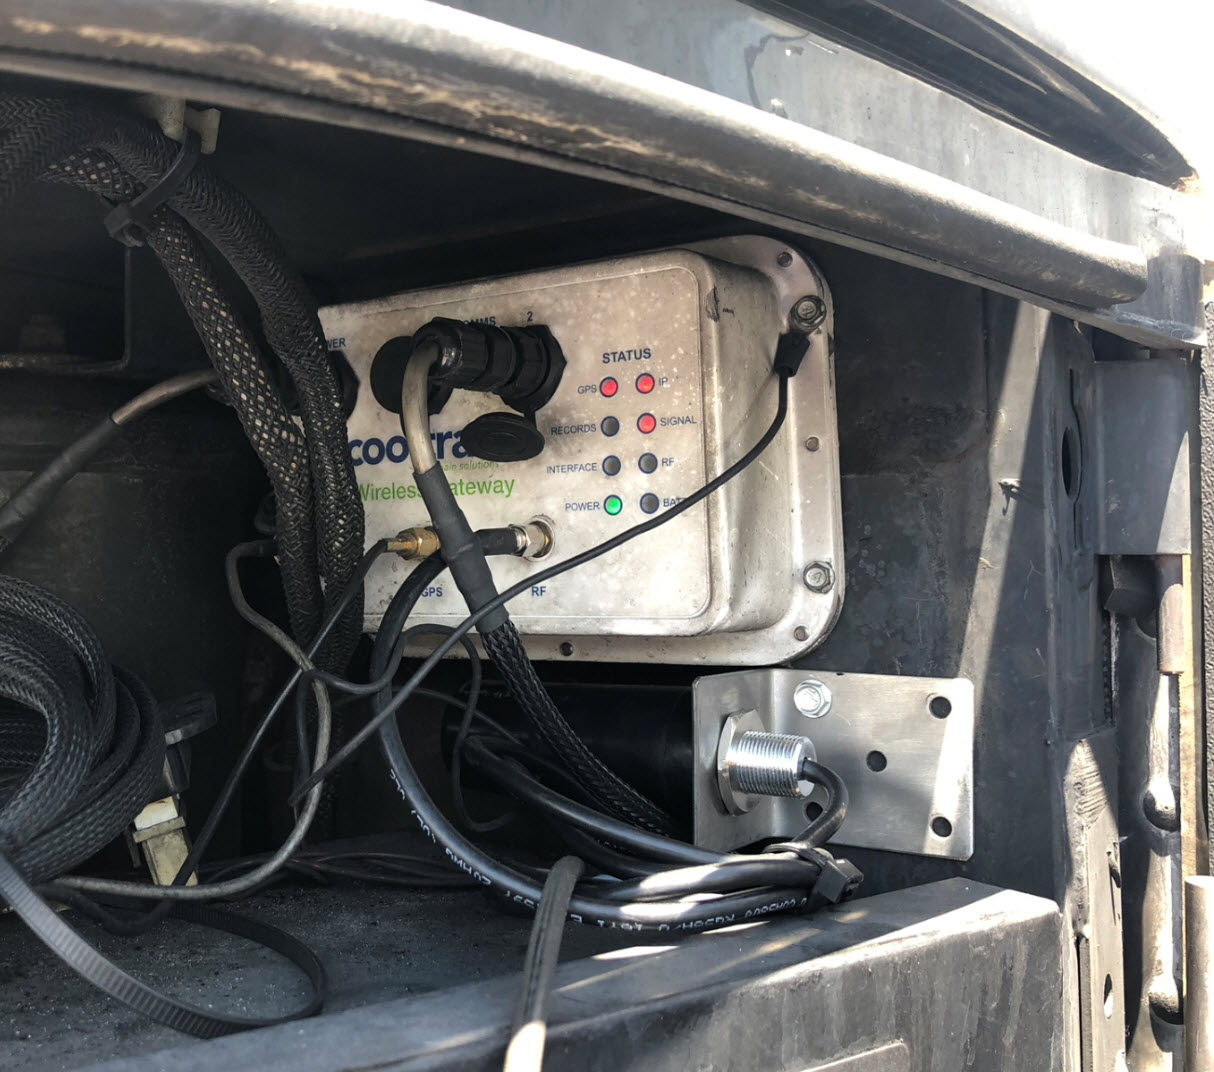
Here is an example of an install.

You will notice the RF antenna is parallel to the trailer wall without any metal obstructions.
The same can be done with a Carrier unit.
Below is an example of an install.

You will notice the RF antenna is parallel to the trailer wall without any metal obstructions.

For a Thermo King Straight Truck, the RF Antenna can be mounted horizontally Above or Below the I-Box within the micro compartment. Since the compartment consist mainly of plastic the signal shouldn't be interrupted.
Proper installation of the RF antenna will insure that all wireless sensors will report in a timely and expected manner.
If you have any further questions please reach out to support at support.us@cooltrax.com
Comments
0 comments
Please sign in to leave a comment.